Car Lights Explained and How to Use Them Correctly
Every modern car comes equipped with a selection of different drivers’ lights each with a distinct function: indicators that double up as hazard lights, tail lights that sit next to brake lights, and headlights that we can set to different modes, to name just a few. In all honesty, even the most experienced of drivers could probably use a little reminder of precisely when and where you should use the different lights on your car and how to recognise their different symbols as displayed in or around your dashboard. With that in mind, what better time than now to demystify the different lights you’ll find around your car? Let’s get into it shall we?
Dashboard Warning Lights Explained >>

Brake Lights:
Brake lights are found beside your car tail light. They’re bright red and will illuminate as soon as you apply pressure to the brake pedal. Brake Lights are principally intended as a safety measure for the benefit of other road users. When the driver behind you sees the red lights they know you will be slowing or coming to a stop.
If you find yourself stuck in a stationary queue of traffic, you can apply your handbrake and switch to neutral gear in order to deactivate the brake lights. Doing so will minimise any glare to the road users that are behind you.

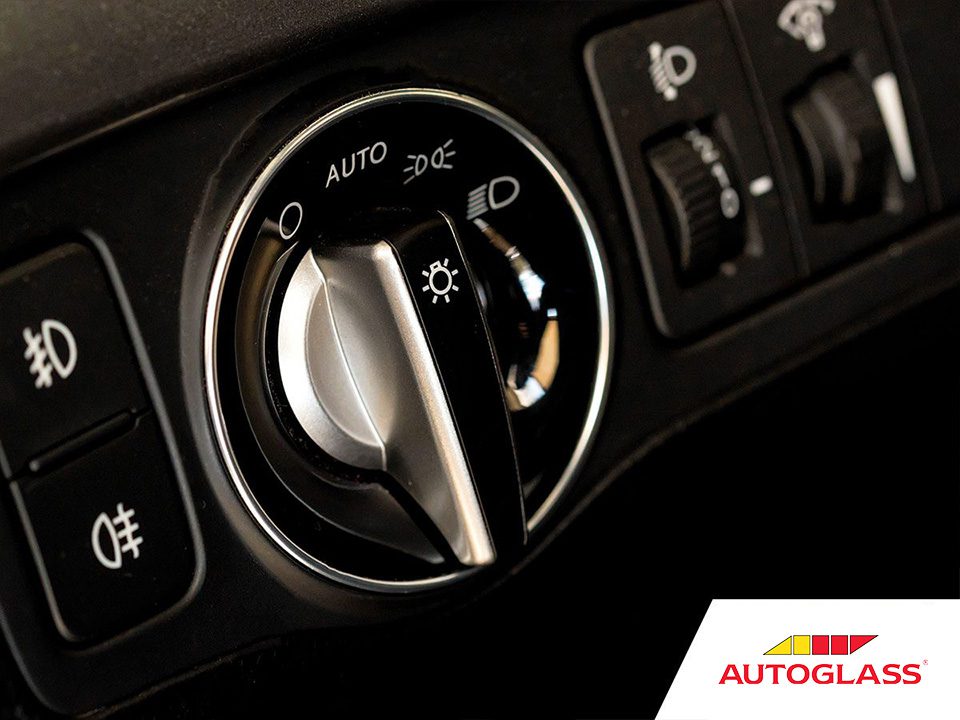
Low Beam Headlight:
Low Beam headlights, commonly referred to as Dipped headlights, are probably the car lights you’ll find yourself using most regularly in day to day driving. They are situated right at the front of your car and they are often referred to as “Dipped” due to the downward angle they’re tilted at—they point towards the road, rather than directly ahead.
We think of the the primary function of car headlights in terms of night driving. But it doesn’t have to be pitch black out for you to need to turn on your lights in the name of safety. The goal is to make sure you are seen as well as being able to see the road. It is recommended that you turn on your car’s low beam headlights about an hour before sunset, and keep them on for an hour after sunrise. This will help you to make sure that you are visible to other road users, and are able to see the road clearly.
How to Drive Safe in Foggy Conditions >>

High Beam Headlights:
If you are driving in the dark on an unlit road, it is a good idea to turn on your high beam headlights. Full beam headlights are angled higher than dipped low beam headlights, allowing you to see more of the road. You should only use high beam headlights on unlit stretches of road. Just make sure that you turn them back down to low beam when another car is approaching – otherwise you run the risk of blinding the driver with their glare.
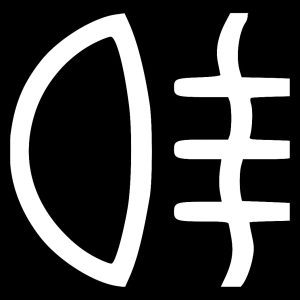
Rear Fog Lights:
Fog lights serve to increase your visibility to other motorists in conditions of extremely low visibility and should only be used sparingly as their glare can potentially dazzle and annoy other drivers. The button will show a lamp with a wiggly line in front of it. You should only use these powerful rear fog lights in instances of dense fog or falling snow.

Fog Lights:
If you’ve not been driving for very long, you might not have much experience driving in foggy conditions. When your visibility is severely reduced on the road due to fog, you need to switch your fog lights on. These powerful lights will help you see the road ahead and also ensure you stay visible to other road users. Crucially, you must turn your fog lights off once visibility improves as these bright lights can easily dazzle other motorists.
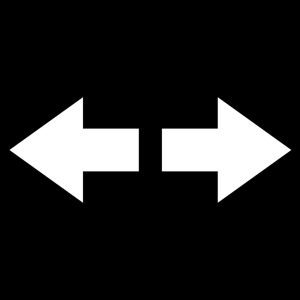
Indicators:
It is safe to say that all road users should have a firm grasp on when they should use their indicators but there is never any harm in a quick refresher! The majority of modern vehicles come equipped with a minimum of four indicators, they can be found next to the headlights and tail lights. You should activate your indicators when you’re signaling to other road users that you’re intending to make a turn or pull over to the side of the road.
Keep in mind, your indicators are designed with a view toward letting other road users know what you intend your next move to be.. When you activate your indicator, you give them ample time to adjust their driving accordingly. For example, they might need to slow down or change the lane they’re in. Timing is the name of the game when it comes to using your indicators. If you switch them on too early, it could confuse other road users into assuming you intend to make a turn sooner than you actually are. If you leave it too late to signal, however, you may not be affording other road users ample time to react to your indicator signal.

Hazard Lights:
Your Hazard Lights or Car Warning Signals can be found on all the corners of your car – they’re the lights that usually double as car indicators. The blinking amber lights are used to warn other drivers of potential hazards on the road. Their dashboard or center console button is indicated with a triangle shape. You will most commonly use your hazards if your car is stationary and obstructing traffic in some way or to make the driver travelling behind you aware of something unexpected up ahead.

Side Lights:
Your sidelights are located on the front corners of your car. Once activated, they will usually also activate your tail lights. Side Lights are extremely useful for making sure your car is visible when you find yourself driving in low light conditions. Your sidelights aren’t as powerful as standard headlights and they should only ever be used alone if it’s not really dark enough to call for the use of dipped headlights. Typically, though, you’ll use them in tandem with your dipped headlights. If one of your headlight bulbs stops working, you can always use your sidelights to maintain visibility.
So there you have it, our comprehensive guide to the various lights you’ll find around the body of you car! We hope you found this little refresher enlightening and don’t forget to check back with the Autoglass® Blog soon for more explainers and guides like this one.
Safe travels and don’t forget to turn on your lights.
Book an appointment now
For a quick and easy way to make an appointment book online now.